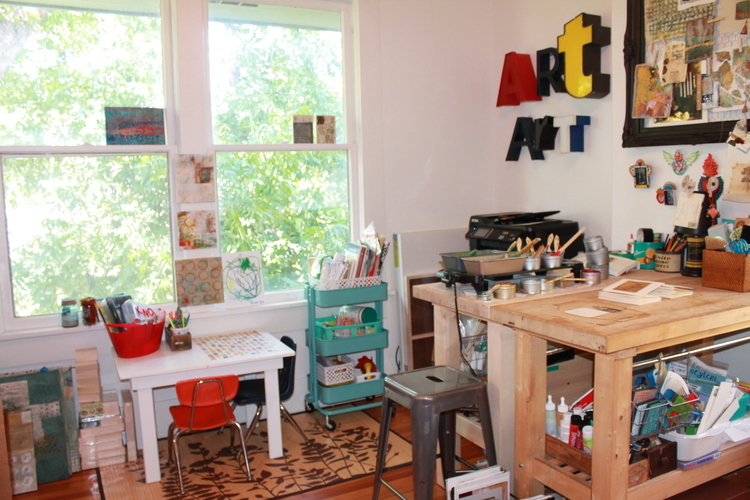
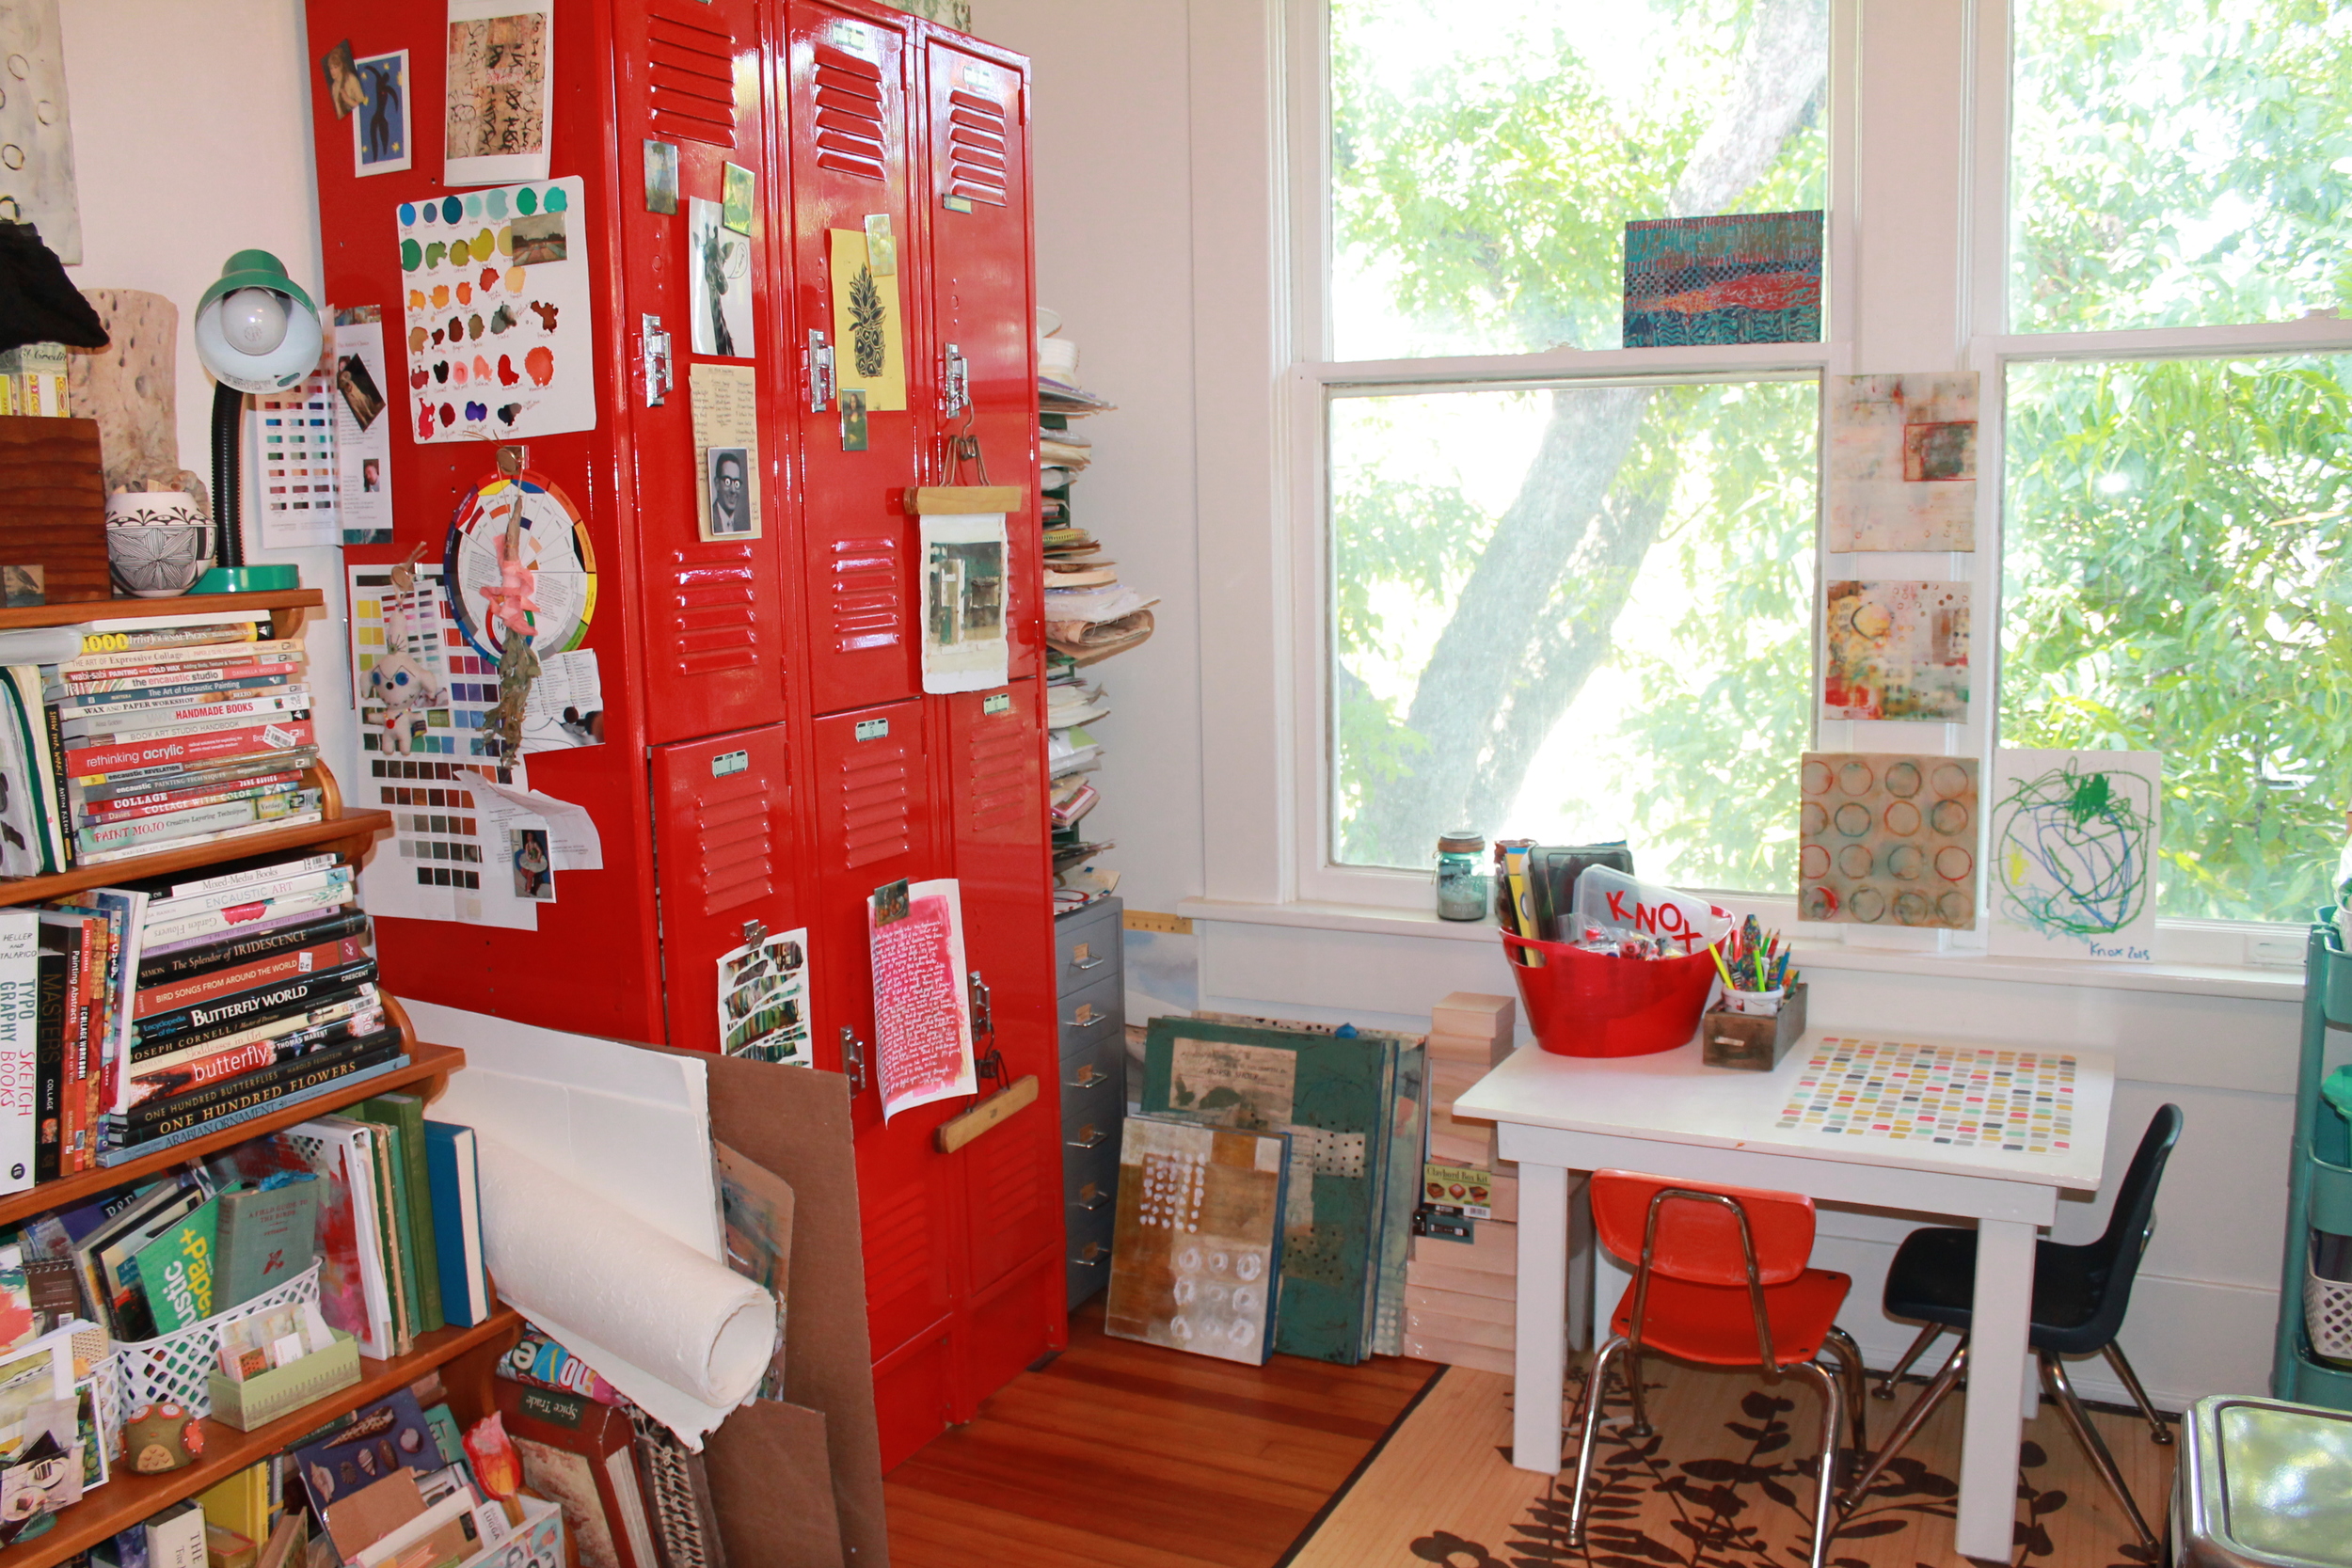
Young at Art

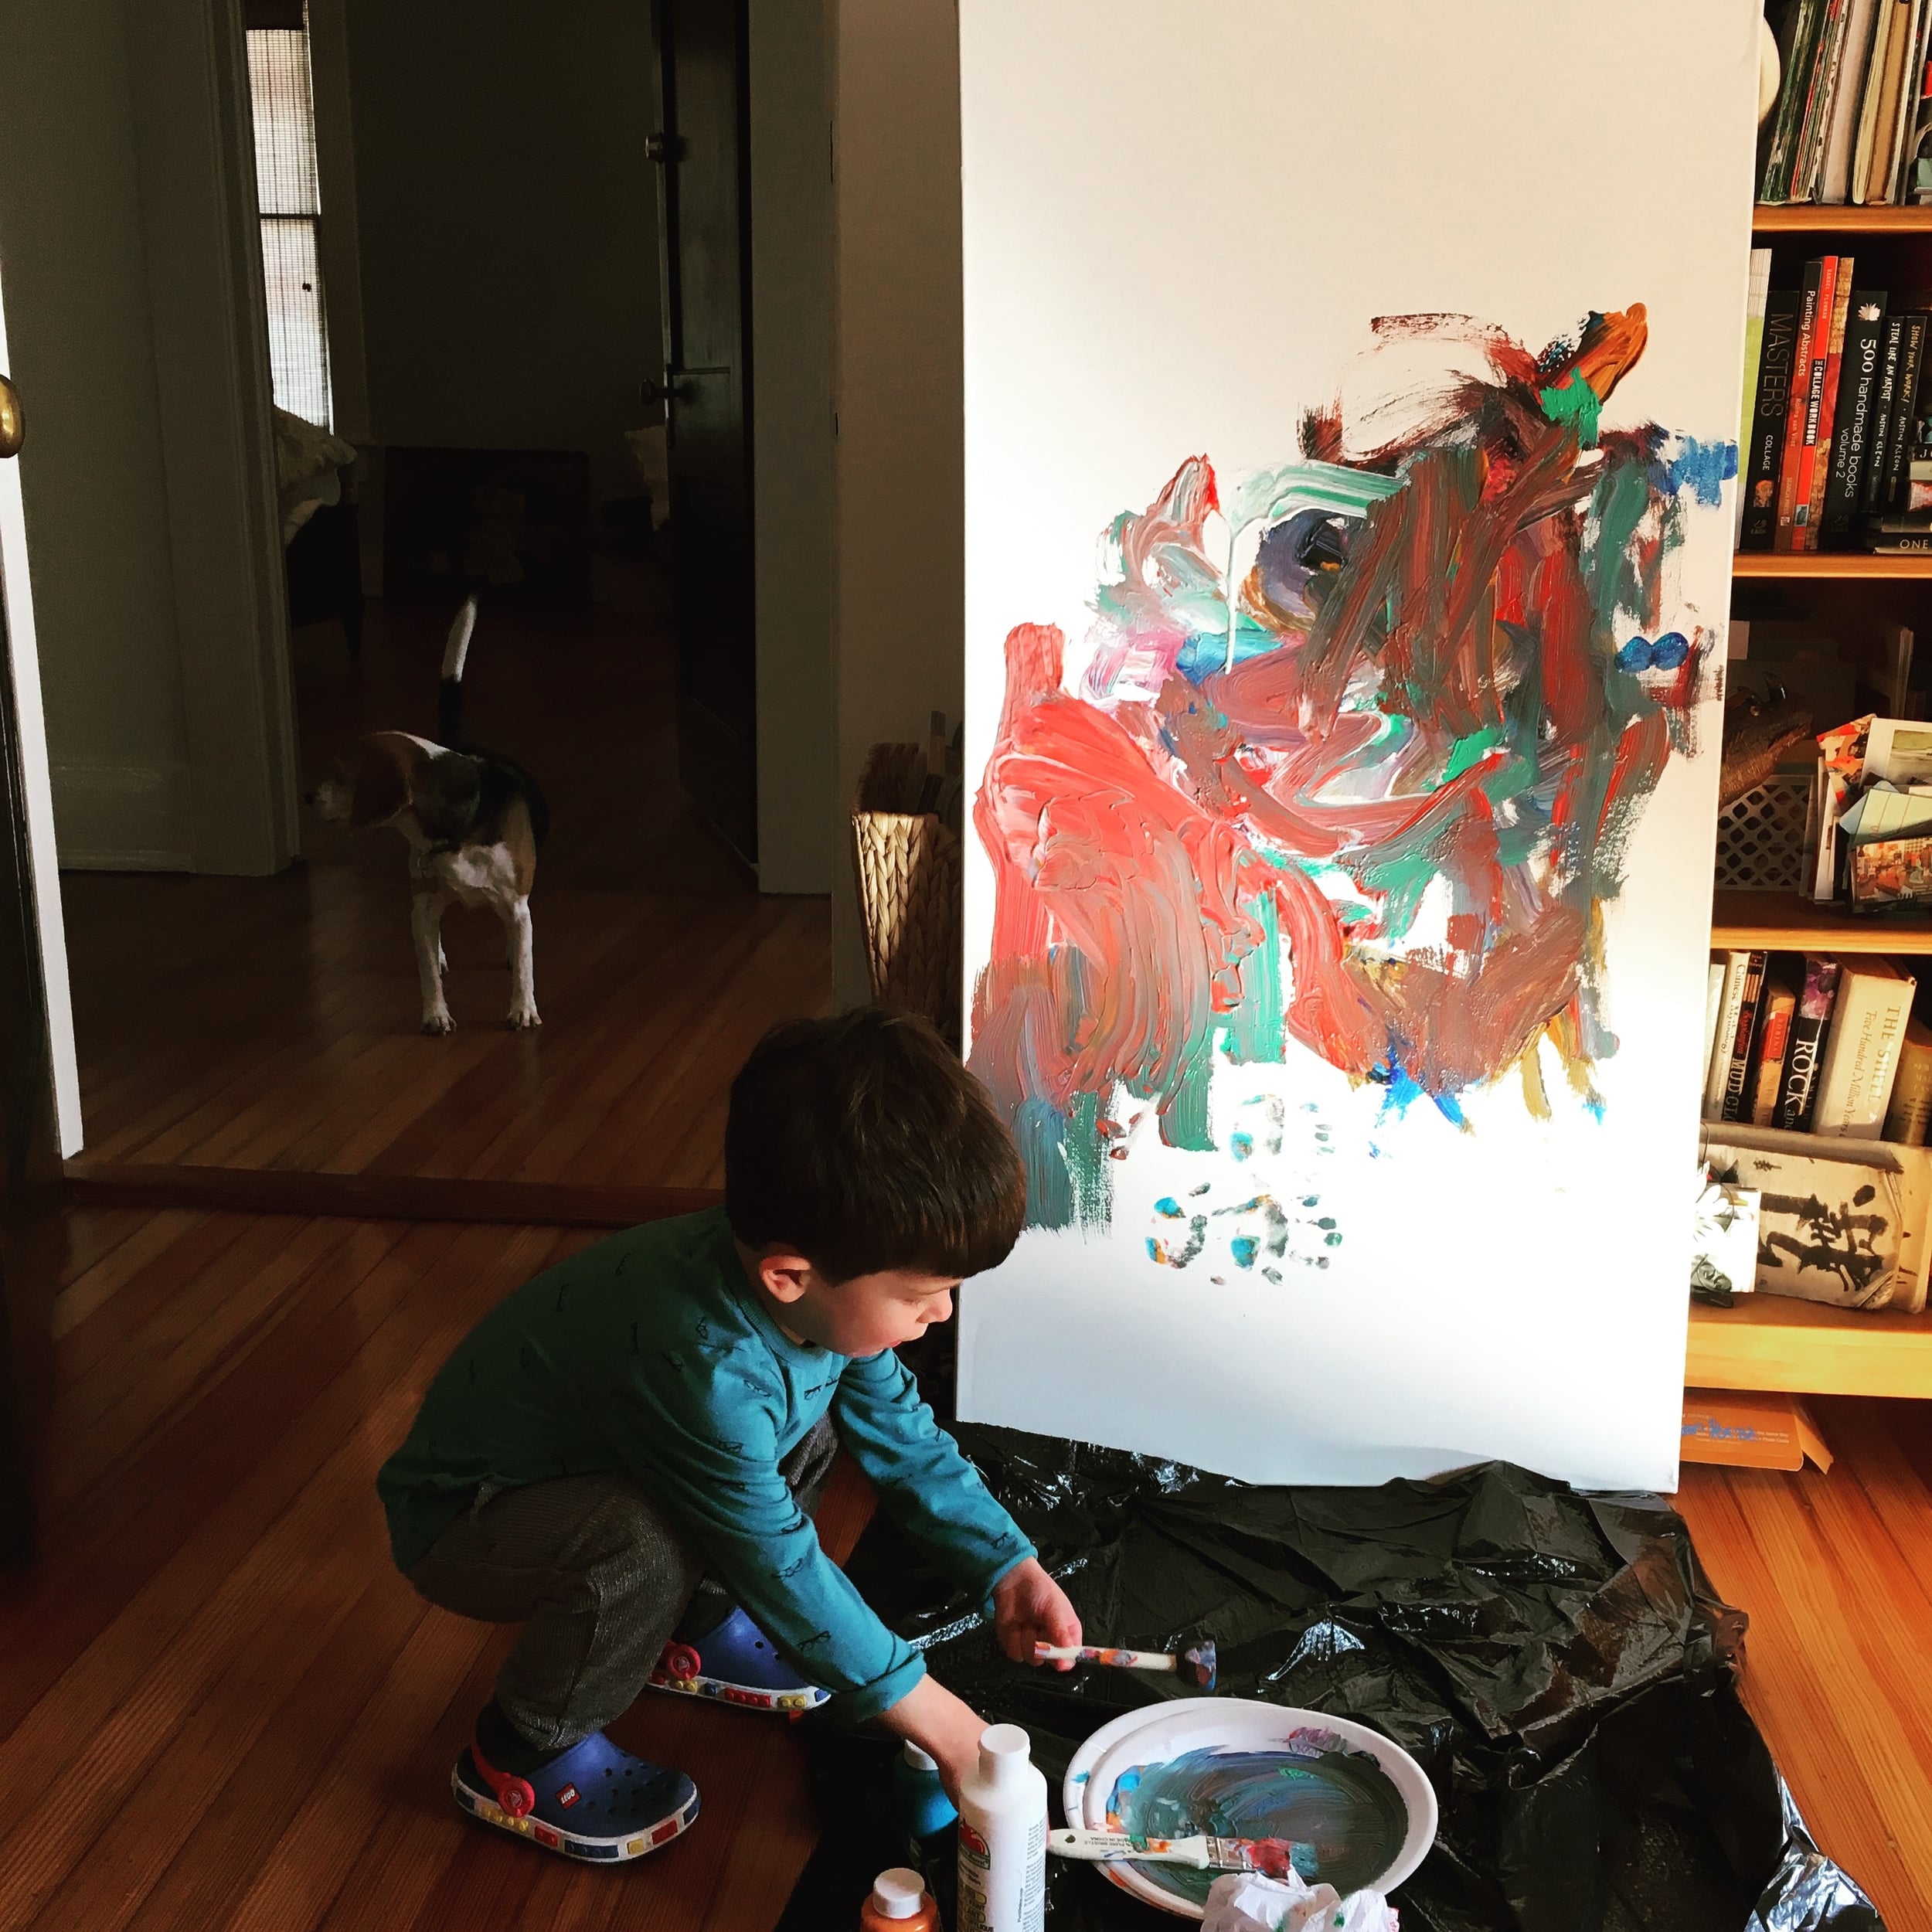
I have a very active 3 1/2 year old, he's always on the move. I have fantasies of him sitting at a table and painting for longer than ten minutes at a time but that's only happened a handful of times. He likes art but he is very quick about it, a few scribbles or swipes of a paint brush and he declares "I'm done!" He's a minimalist I suppose.  No matter how much I encourage him, he doesn't like to get paint on his fingers and insists they be washed immediately if so much as a speck gets on them. Let's just say I was a little envious when I saw this video. This little girl (who's momma is an artist) is not afraid to make a mess.

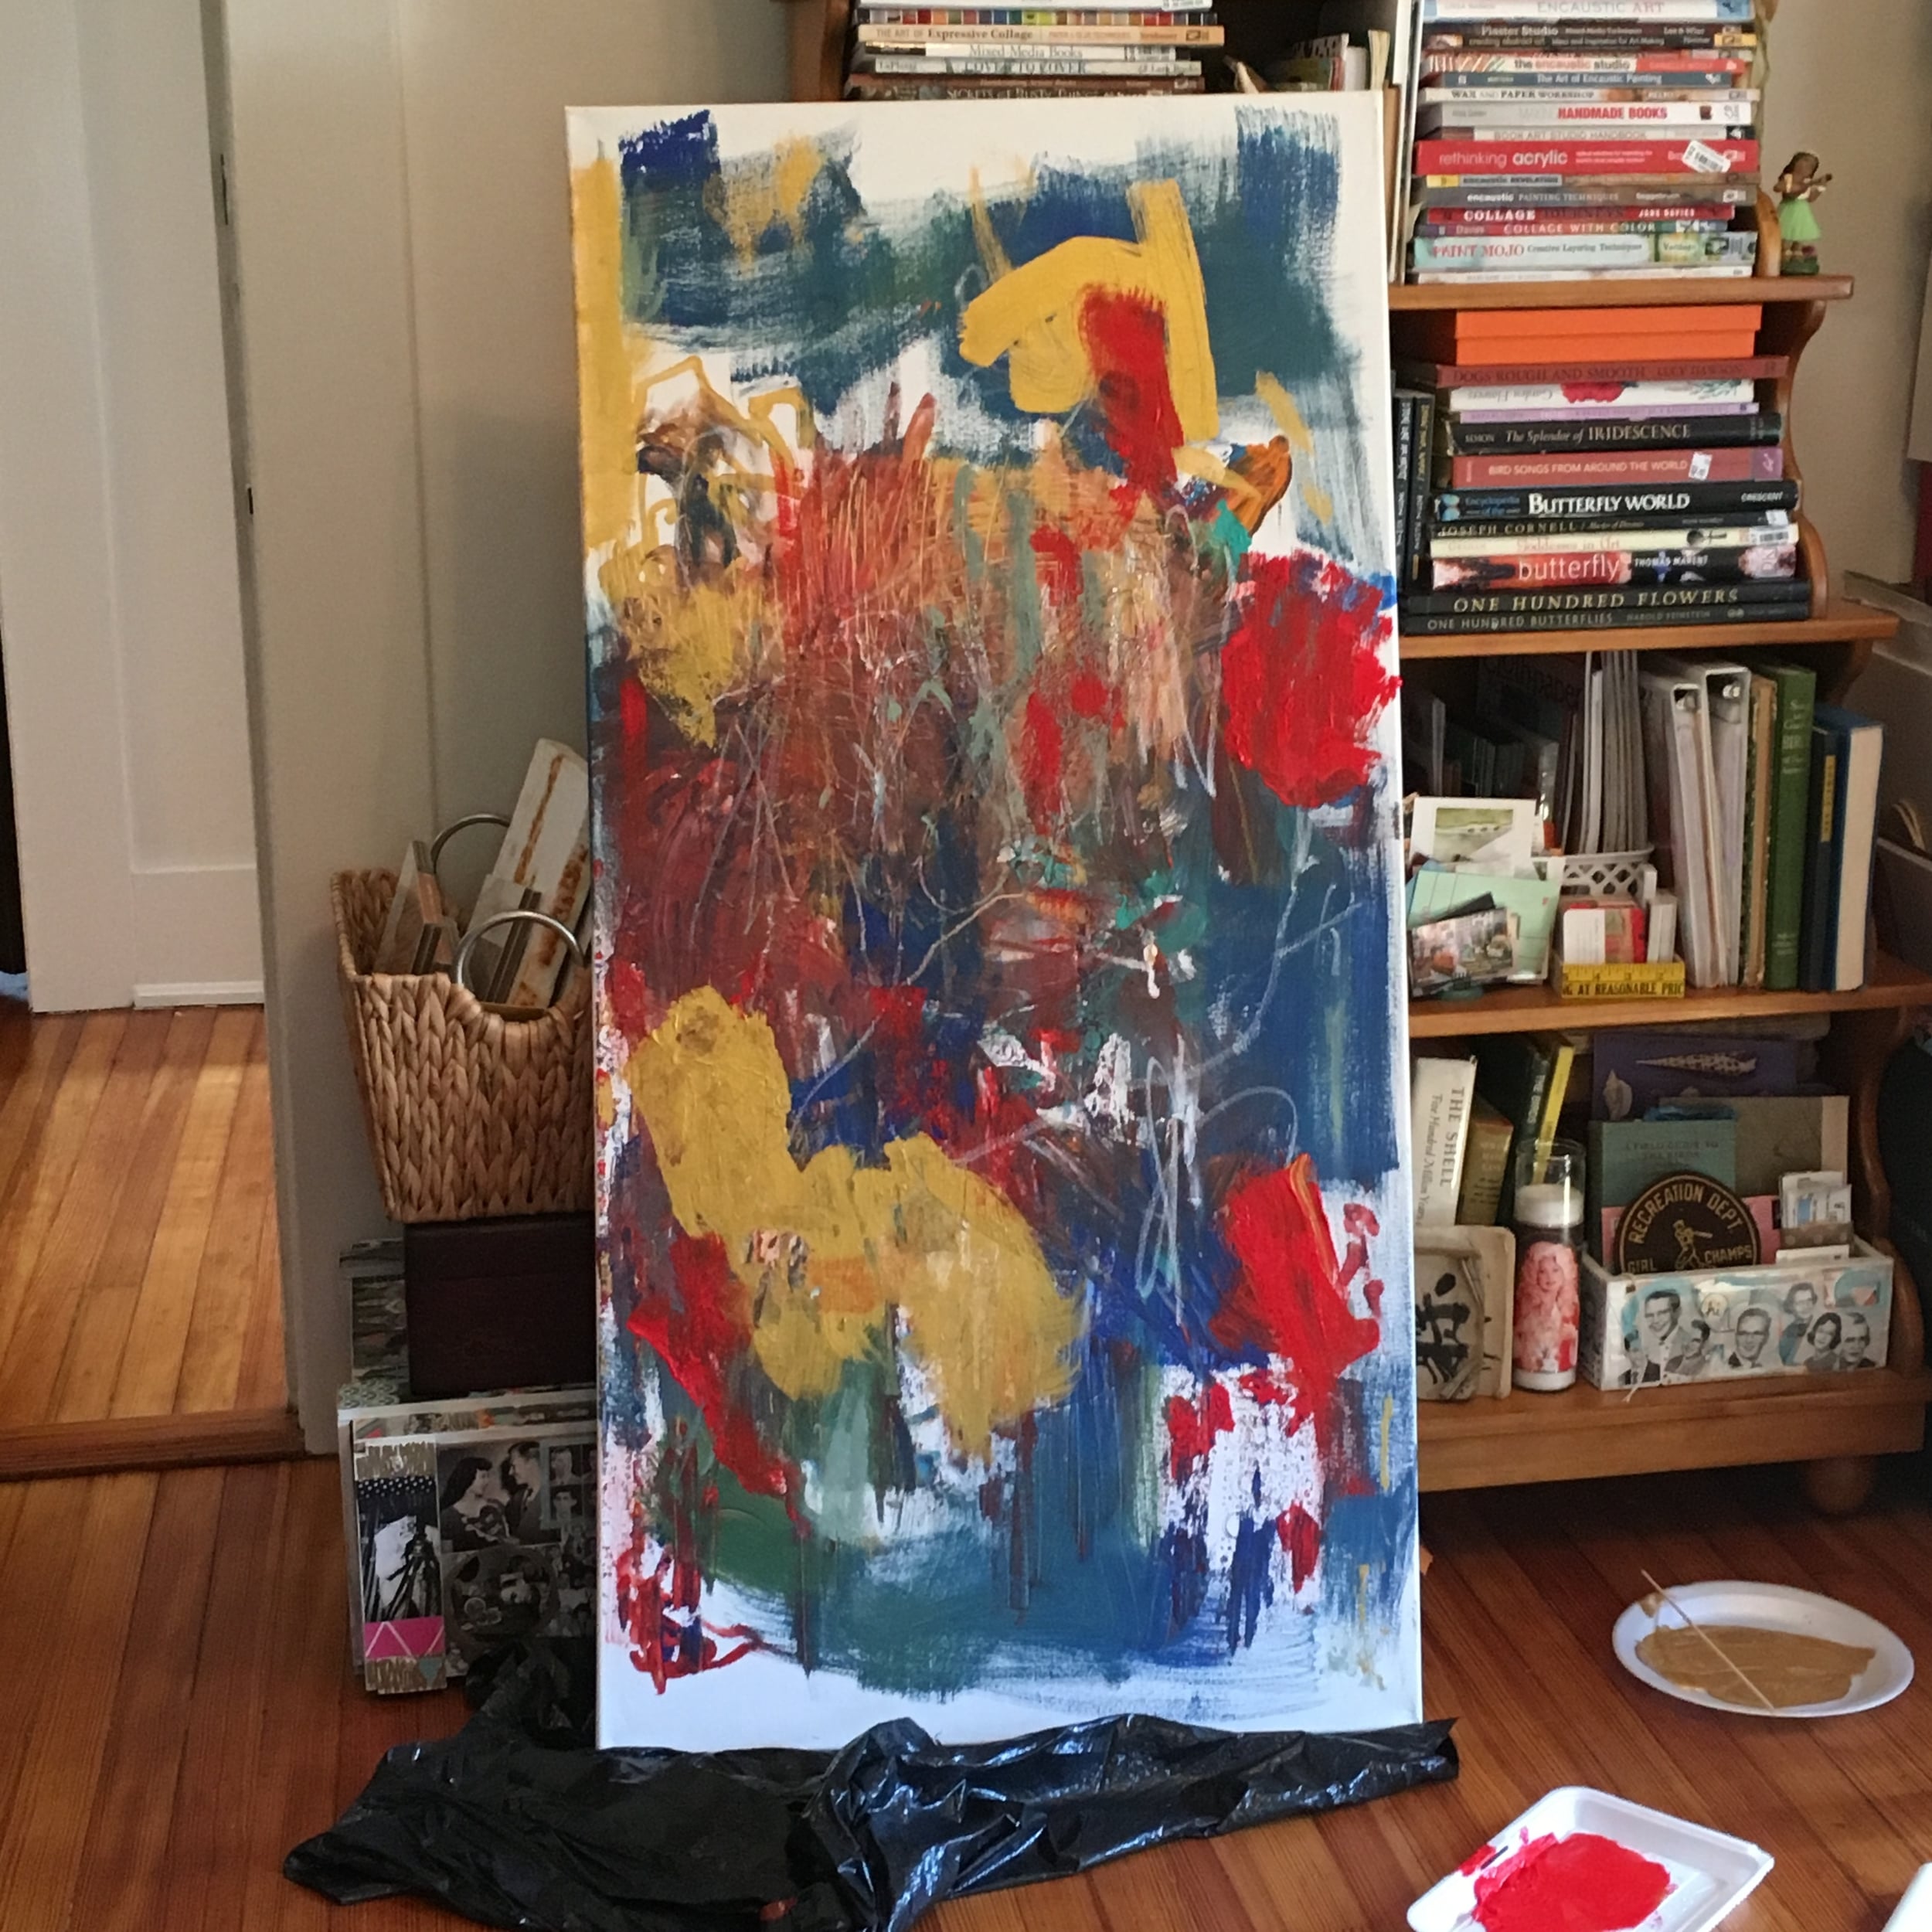
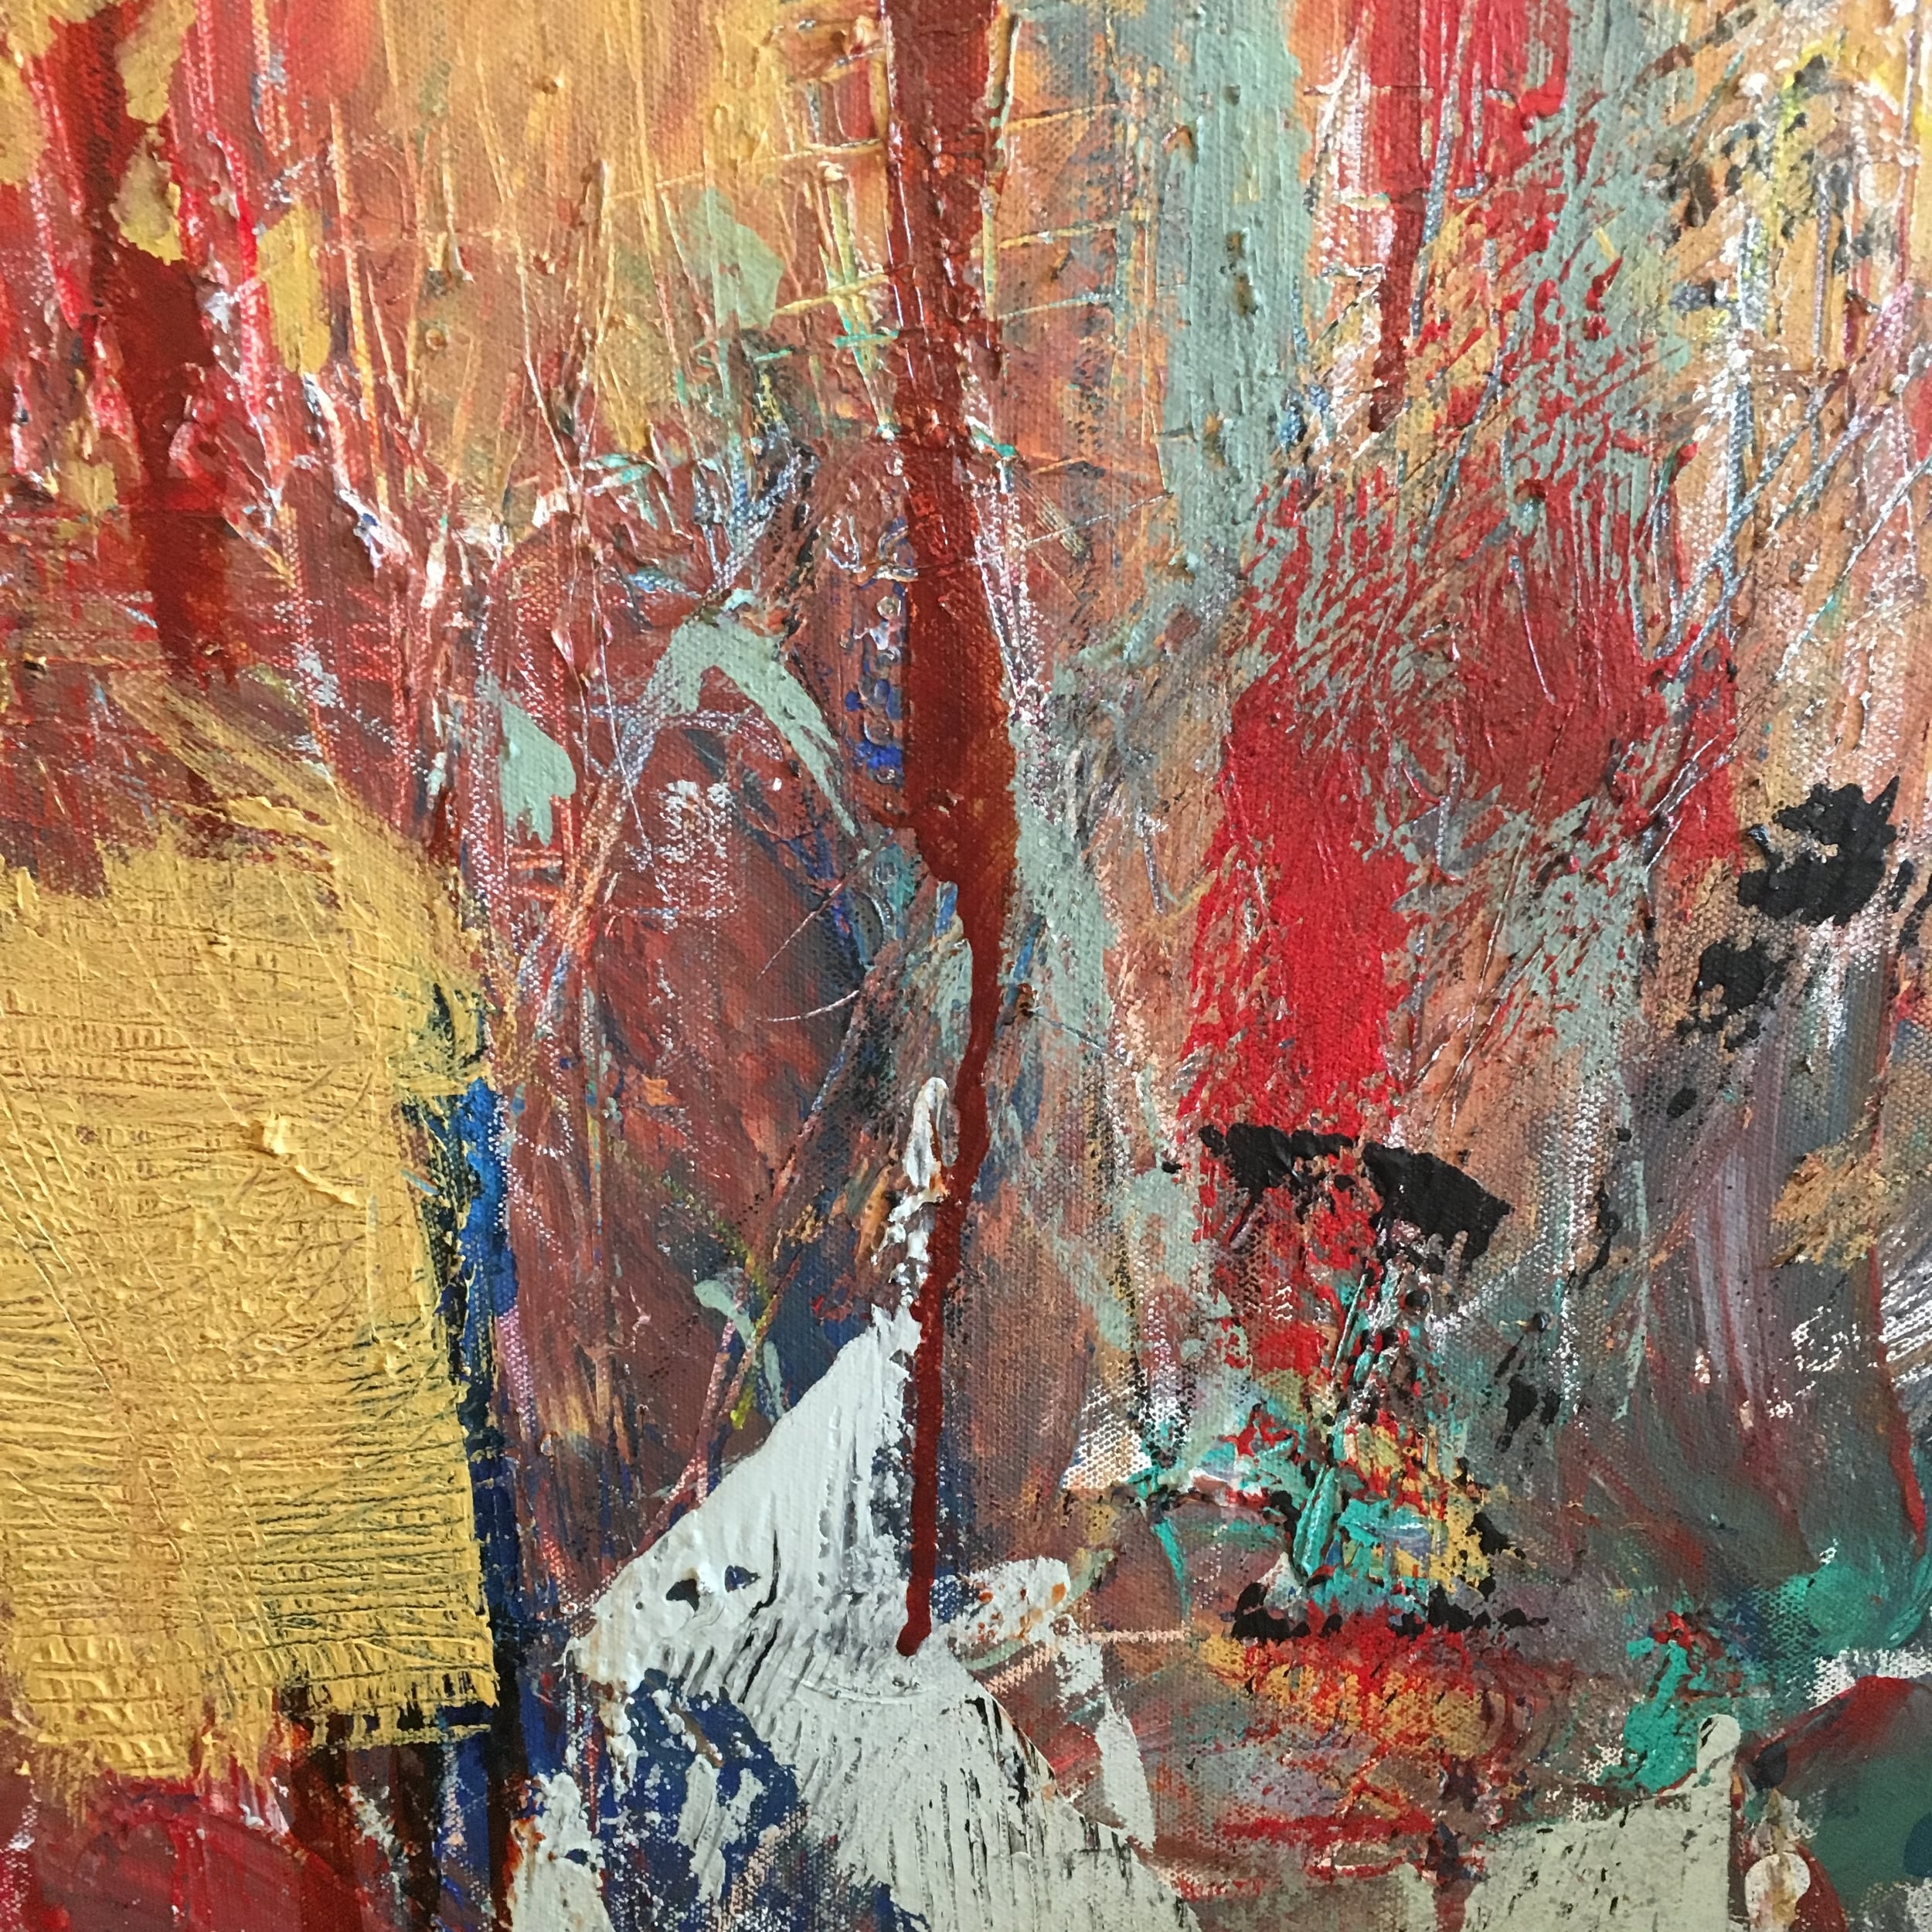
Inspired by her video, I devised a little project of our own. I pulled out a large canvas and asked him everyday for 4 days if he wanted to work on his painting for a bit. He worked for a few minutes each time until he declared "I'm done!" I let him pick the colors and his brushes/tools. We started off with a few colors on a paper plate, and since he tends to mix all the colors on his palette together, it resulted in some interesting base shades. The next few days, I mainly gave him one color at a time so that they could remain distinct and not turn muddy. We used acrylic paints, some were his cheap washable colors but most were my nice ones. We even used a little leftover house paint (because why not tie in the colors of my bedroom hehe!).  He really liked my metallic gold paint and went a little crazy with it, he might have covered the whole canvas with it if I had not suggested to switch to a new color.  I showed him how to use a skewer, a comb, and an old credit card to scrape through wet paint to develop texture and expose the colors in previous layers (he liked this a lot). He used chip brushes,  a patterned roller, sponge dot brushes, scribbled with oil pastels, dripped fluid acrylics and spritzed ink onto the canvas (he needed a little help to squeeze these). Every now and then I would flip the canvas because he was too short to reach the top. He even used his fingers a little (hooray!). One day he said he was painting a dragon ("see the fire mommy?"), and the next day it was an elephant!

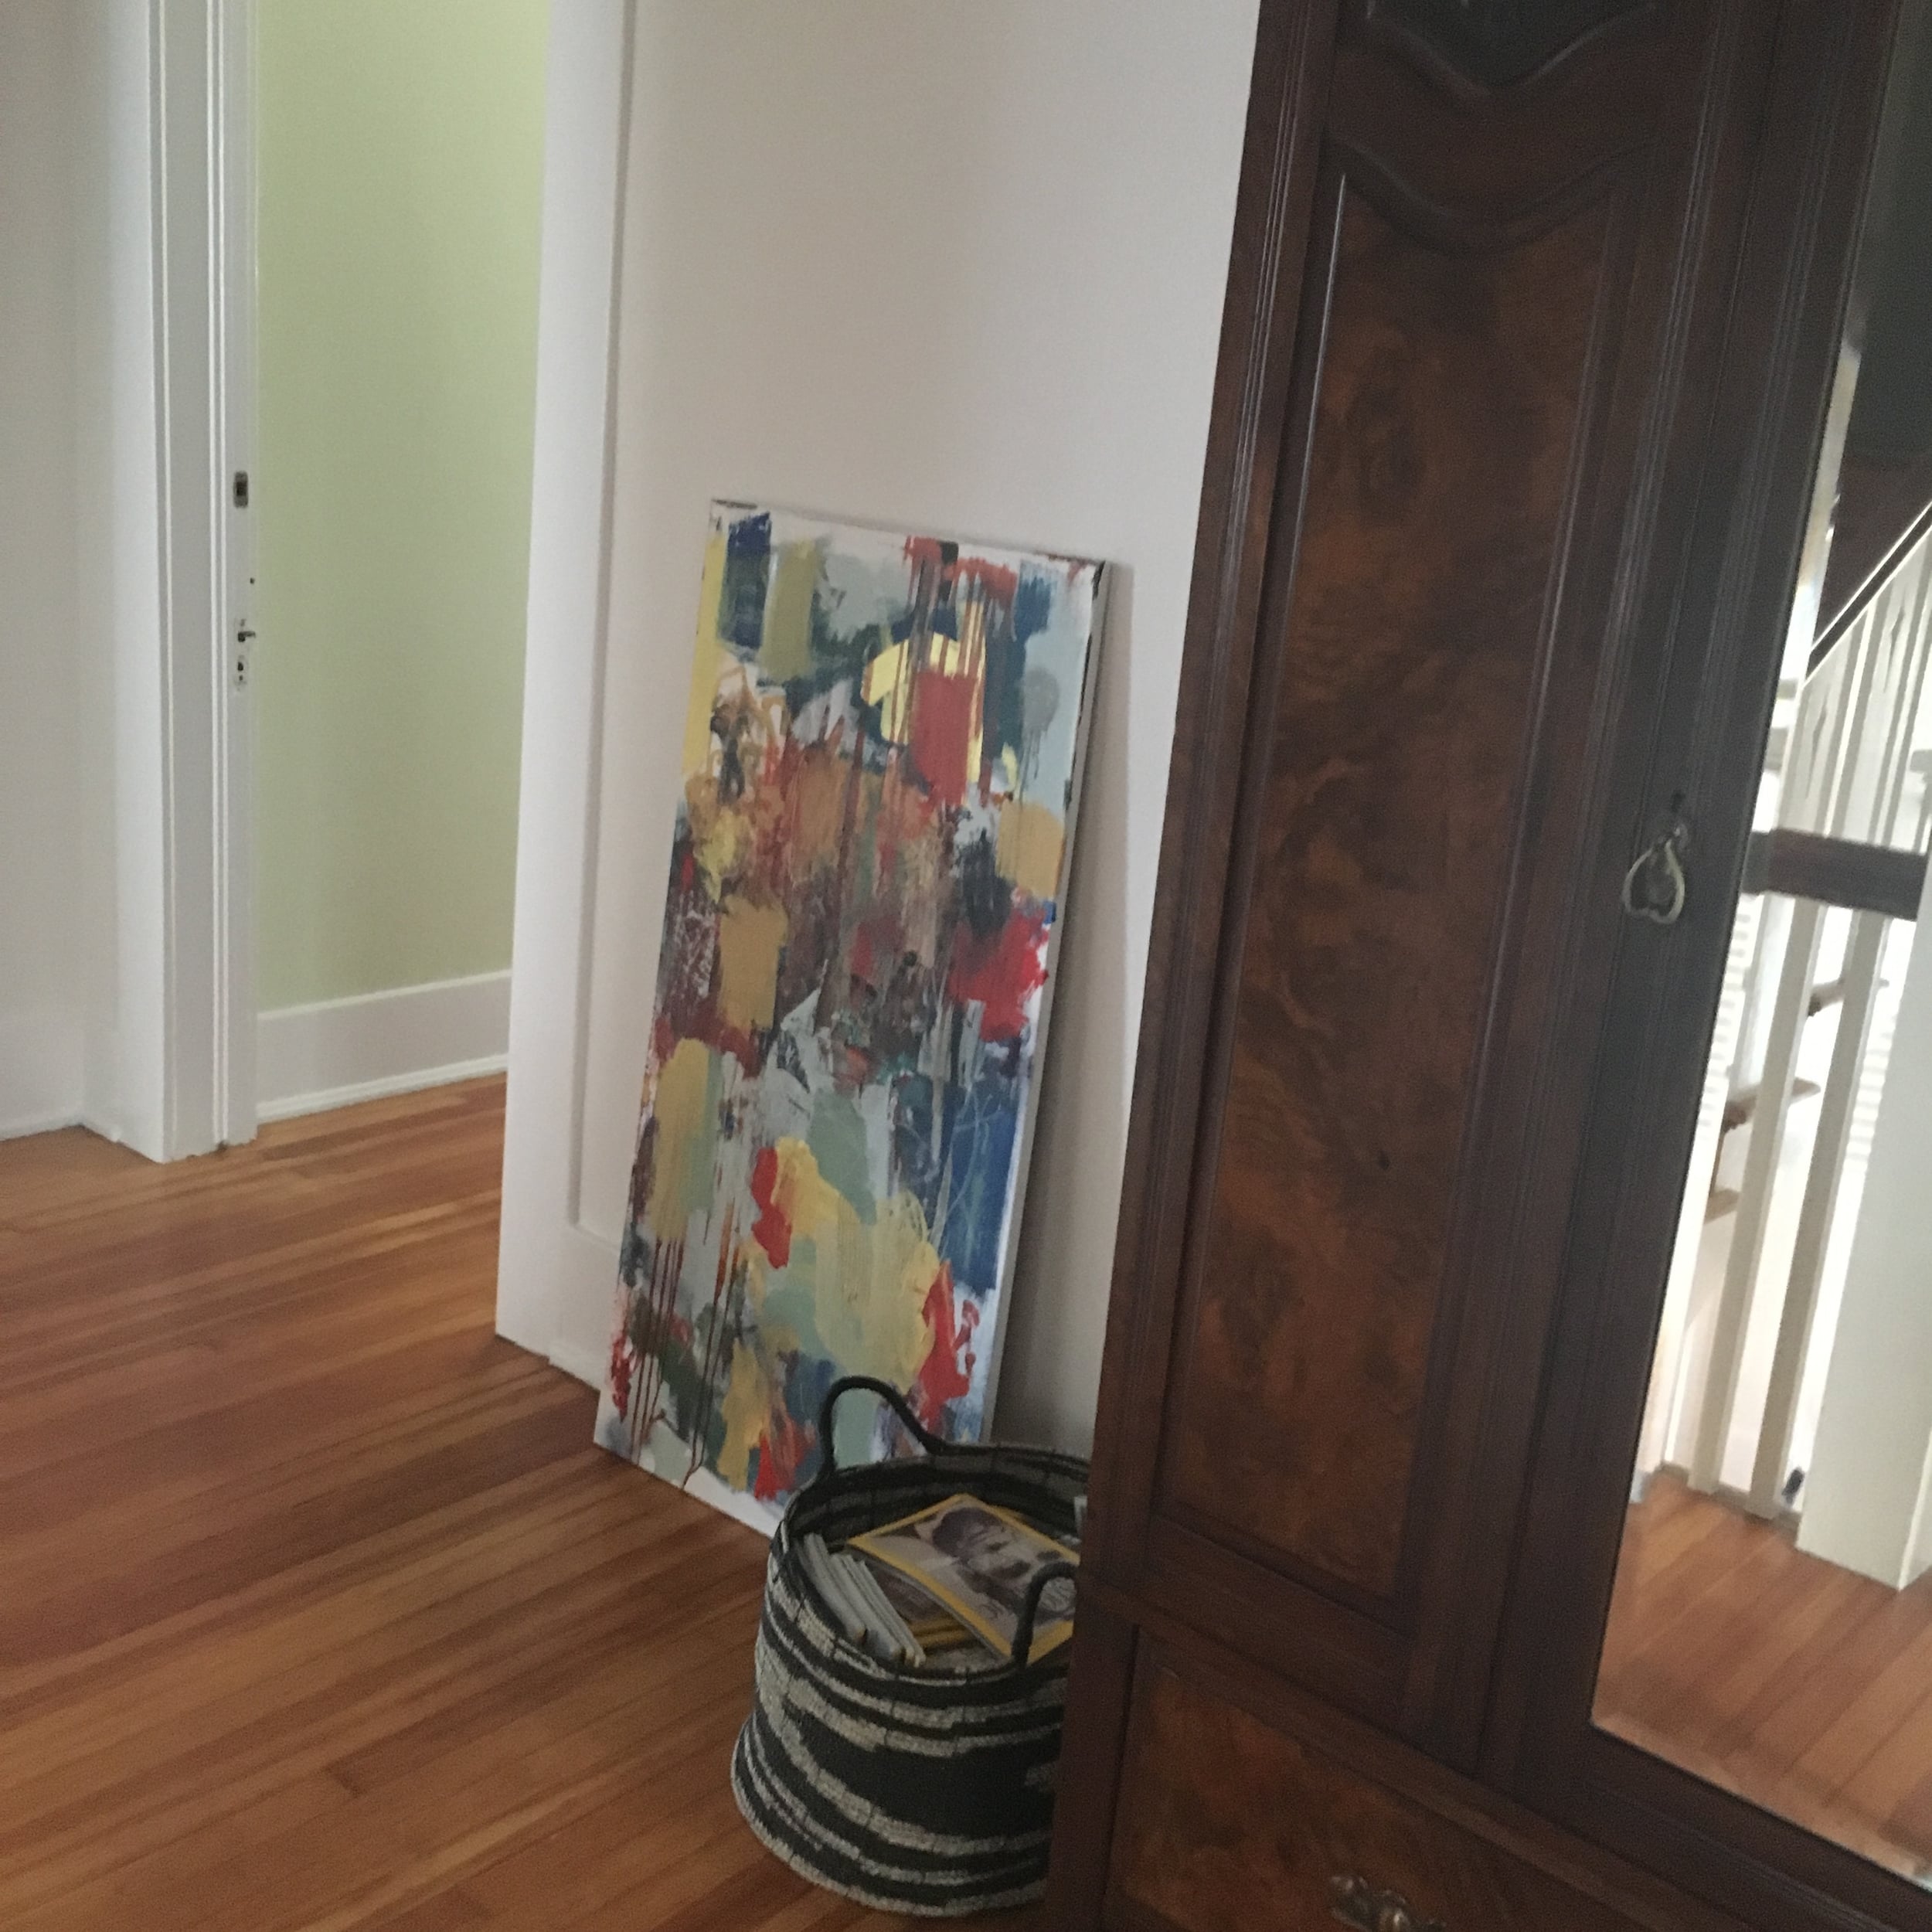
It's fun to watch young children make art and not second guess themselves at all. He just makes a mark and moves on. He painted over things without a second thought (making me cringe a few times when he covered up a good bit).  Maybe I'm a little biased, but I like the way it came out. He finished it off with a hand print in the bottom corner and I wrote his name and the year. I'm going to hang it in the hallway right next to his bedroom.

I think it was so successful because he only likes to work a few minutes at a time. He doesn't over-work things muddying them up. He slaps some paint on and is done. For kids who like to keep going, maybe you can set a timer telling them that you will work on the painting just for a few minutes each day allowing some time for it to dry. Acrylic dries really fast so you can even go back to it later in the day. We actually had 2 sessions a few days too. And if it gets too muddy one day, no fear, there's always the next day. The more layers, the more interesting it gets. We will definitely be doing this again.

Big Year

2015 was a big year for my art and 2016 is already shaping up to be another year full of firsts, I'm looking forward to sharing them with you in the coming months.

These last few months have been kind of a breather for me. I haven't melted any wax at all. Instead, I've been really thinking, planning, and fooling around with a couple of fun things just to relax. I love simple collages on paper using vintage photos and books. I've just been playing around with it, a way to flex my creative muscle with no goal in mind but to have fun. I've been enjoying just keeping things simple with scissors and glue.  It's also a good way to use things that have been collecting in my studio for ages (so I can collect more!).

I just received a big shipment of wax and when the new year starts I'm going to melt it! I can't wait!

Below is a slide show of some of the fun paper collages I've been doing. Please excuse the quality of the photos, they were taken with my i-phone. You can see more on my instagram account. 

Happy Thanksgiving

I recently attended a 2 day workshop at the home of my art-friend Laura Roberts AKA Hasty Pearl. She hosted artist Leslie Marsh who taught us the fun, perfect for fall, process of eco-dyeing papers and fabric.  We spent the first day dyeing and the second day book-binding and stitching.

I've been lucky to attend art classes and workshops fairly regularly for the past few years and since November is the season of Thanksgiving,  I am feeling especially grateful. I am thankful for teachers who share what they know and are generous with their time and expertise.  I am thankful for workshop hosts and organizers that work hard to make the whole experience possible. I am thankful for the artists I have met who have encouraged me, included me,  answered my questions, and given advise and critique. And last, but possibly most important of all, I am thankful for a supportive husband who doesn't think I'm crazy to pursue an artful life and doesn't complain about having to mind our three year old while I'm off making stuff.

UPDATE: My husband read this post and he is unwilling to commit as to whether or not I am crazy, but he loves me anyway:)

Here's a little slide-show of my eco-dyeing workshop with Leslie and Laura.

sAN lUIS OBISPO MUSEUM OF ART exhibition

I have some great news, one of my pieces was selected for an exhibition at the San Luis Obispo Museum of Art in California. The exhibition, titled "Another Way of Keeping a Diary" is sponsored by the International Encaustic Artists and runs from November 20, 2015 - January 31, 2016. The juror was David Limrite. He released a statement giving us a glimpse into his selection process that I thought was very insightful. Here is the letter:


I sincerely appreciate the opportunity to be your juror for 'Another Way of Keeping A Diary.' I would like to thank you for the honor you placed in my hands of selecting the work to be included in this important exhibition. Congratulations to all of you for entering this exhibit and especially to those of you who were juried into this show. I want you all to know that I did not take this responsibility lightly. Please remember that this is one person's opinion. As an artist myself, I tried to make my choices from a place of respect for the creative journey.

I based my selections on a select set of criteria. I would like to briefly discuss these with you now. I hope that by understanding my thought process, you will be able to make sense of the show when you actually see it. Which I hope you all will make an effort to do.

I chose work that best represented, for me, mature and accomplished expressions of art making, as well as, those that exhibited a mastery of encaustic. I also looked for work that appeared to push encaustic to its limits.

Most important to me was,'Did the artist allow themselves to release their creativity?'

The work chosen had to have made a sincere effort to honor and explore the theme of this exhibit. Also, the work had to evoke something such as mood, emotion, drama, story or memory.

I chose work:

- That felt very personal in nature.
- That constructed a story through layers and then freed that story from under the surface.
- Whose surfaces and layers appeared to have been excavated to reveal secrets, or were seeded with objects, images and writings with personal meaning. Much like a diary.
- In which a mysterious surface was created, which allowed the artist to suspend their private thoughts.

I was not looking for just a landscape or a portrait or a cityscape or a still life. I was looking for something more. I was looking for work that transported me. Somewhere. Anywhere. I was looking for work that made my heart respond. That woke up my soul. That peaked my interest. I was looking for work that was interesting to look at, to ponder and to tryunderstand.

Do I respond to this piece?
Does it make me smile?
Would I like to live with it?
Does it cause me to be amazed, delighted, surprised or moved?
Do I feel a connection with the artist who created it?

I also looked for strength in the foundations of picture making. Specifically: design, composition, shape, color, value, line, texture and edge.

Lastly, I looked for work that was brimming with the joy of process.

I thoroughly enjoyed spending time with all of your beautiful work. It has been my distinct pleasure and honor to be your juror for 'Another Way Of Keeping A Diary.'

I look forward to meeting as many of you as possible. See you soon.

Best,
David Limrite

Thank You, 24" x 18" x 1.5", encaustic, oil, ink, and collage on cradled wood panel

Thank You, 24" x 18" x 1.5", encaustic, oil, ink, and collage on cradled wood panel

Art is the Stored Honey of the Human Soul

I love vintage signage, so the text-based work of San Antonio artist Gary Sweeney is very appealing to me. I had the good fortune of visiting his studio a few years ago and really enjoyed learning about his art.  I especially like his piece outside of the San Antonio Museum of Art. Not only are the letters awesome but so is the statement - it's a quote by Theodore Dreiser. I like how cheerful it looks. When I was setting up my home studio last year I was inspired to include some sign letters of my own. I picked out a few letters at my favorite vintage/junk shop in San Antonio, Yeya's Antiques and Oddities, and got to hanging my bit of retro cheer. 

On My Bookshelf

I have an ever-growing collection of instructional art books. If it's a great book, I tend to refer back to it again and again. They can be a great starting point when I'm in a creative rut. Here are a few titles I have recently read and enjoyed.

Rust Prints

Since running out of my supply of rust printed paper, I've been meaning to make some more. Seeing my friend Lyn Belisle's recent blog post about her experimentation with rusting for an upcoming workshop she's teaching inspired me to finally get to it. It's kind of smelly and icky which is why I kept putting it off but since the temperature has finally begun to be tolerable, I made it happen. This kind of project is actually perfect for my schedule because it involves a lot of letting things sit around for awhile.

The night before, I threw all my rusty bits in a big bucket from Home Depot. Lots of washers, an old bike chain, gear-looking thingys, coiled thingamabobs and squared nails. I covered it all with a mixture of 1/2 white vinegar and 1/2 water.  I left it overnight. The next morning, after I dropped my son off at pre-school, I covered my picnic table with trash bags and then a layer of paper and some fabric (Rives bfk sheets, watercolor paper, rice paper, and a fat quarter of 100% cotton).  I spritzed it all heavily with a spray bottle (again with a mixture of 1/2 vinegar and 1/2 water). I then started to arrange the rusty bits on the papers. Make sure to wear heavy duty gloves like the toilet scrubbing kind. I used my flimsy disposable ones and these did not do the trick. My hands looked and smelled like rusty pickles when I was done. I used a plastic kitchen ladle to pour some of the rust water from the bucket onto the papers but I didn't cover it completely because I still wanted some white to show. I put another layer of thoroughly spritzed down paper on top of everything, covered it all with trash bags, and weighed it down with bricks so that the rusted bits were sandwiched tightly between 2 layers of paper or fabric.  I left it all to sit until later that afternoon when my son wanted to go play outside. While we were in the backyard, I peeked under the garbage bags and decided to move some of the metal pieces around to get even more prints on the paper. I dunked them in the bucket again before I put them on, I gave everything a quick spritz and covered it all up again. In the evening, I laid my prints to dry overnight. Since I still had some rust liquid in the bucket, I decided to start another round and let those sit overnight as well.  TIP: If you use super flat rusted pieces, you can keep layering the papers allowing you to get two-sided prints. This should definitely be done outside but it's probably a good idea to work on top of a hard surface. Also, I plan on researching de-acid spray products to treat these papers before I use them in my work, something I didn't think to do in the past.

Small Works Exhibit - Georgetown Art Center

Lately I've been working on very small cradled panels, mainly 4x4 and 6x6 sizes. So, when I saw a call for entry to the Small Works Exhibit at the Georgetown Art Center, I applied. It's an exhibit featuring small works of various mediums and none of the art exceeds 12 inches in any direction. The show runs November 6 thru December 6, 2015 and the Artist Reception is November 14,  7 to 9 PM. Here is my accepted piece.

Relish, encaustic collage, 4" x 4" x 1.5" 

Relish, encaustic collage, 4" x 4" x 1.5"


UPDATE: this piece has sold.

Alicia Tormey


Encaustic artist Alicia Tormey is well known for her organic imagery and her beautiful use of the shellac technique.  I get a lot of questions from people who don't quite understand the encaustic art process. Alicia just released a wonderful short video about her creative process and gives you a little glimpse of what working with encaustic looks like. Enjoy her video below.


Closing the Gap

I'm a big fan of Ira Glass and his radio show This American Life. I've listened to every single episode through the years.  In a 2009 interview, he shared some insightful advice from his own life experiences on overcoming self-doubt. I found this advise to be very helpful to me when I was just starting to work with encaustic a few years ago.

Every once in a while, I still re-visit his words. According to his theory, there's a "gap" between the quality of work an individual puts out at the start and that person's potential. This frustrating disparity is often clear to the beginners themselves -- they have the "taste" to know that what they're creating isn't as good as they'd like it to be, but don't yet have the experience to achieve that level of quality. But that's normal, Glass says. For anyone with a passion for something, Glass' words are a timeless inspiration and a reminder that experience is the only way close the gap.

Here's a wonderful video created to illustrate Glass' advice by German designer Daniel Sax.


Children's Books - Oliver Jeffers

I have a three year old who loves books and a significant part of my day is spent reading to him. We read before naptime, before bedtime, and throughout the day. Not all children's books are created equal, however, and I enjoy reading some books a lot more than others (I'm talking to you Elmo). One of my favorite go-to authors and illustrators is Oliver Jeffers. His books have unique stories with beautiful illustrations. He has become one of my favorite artists. My most favorite book by him is The Incredible Book Eating Boy because it speaks to my collage-loving heart. The images below show how he incorporates collage and whimsical illustrations throughout the book.

He's published a lot of really great children's books but he's also a wonderful fine artist as well. I encourage you to check out his work and this short video about his process.

Mockingbird Handprints

I'm happy to announce that my work can now be purchased at Mockingbird Handprints. They are located in the Blue Star Art Complex in the Southtown neighborhood of San Antonio. The shop is owned by artists Jane Bishop and Paula Cox so it features much of their own artwork as well as the work of other local artists. It definitely has a funky, colorful, and eclectic vibe. You can buy Jane's hand-decorated fabrics, wallpapers and furniture,  Paula's printmaking art, and the works of artists who work in ceramics, photography, jewelry, painting, and now encaustic! It's a great place to buy local and handmade art.

The whole complex is such a great place to spend an afternoon.  You can visit the Blue Star Contemporary Art Museum,  grab a beer at the Blue Star Brewing Company, eat dinner at Stella Public House, get a cup of coffee at Halcyon, and some gelato at A La Mode Gelato - and these are just a few of the offerings.

And if that's not enough to get you down there, there's always First Friday. First Friday is a FREE event showcasing the art community of San Antonio that takes place on the first Friday of each month. It takes place with the Blue Star Arts Complex on one end then leading up S. Alamo with spill off into the side streets. The galleries, restaurants, bars and shops open their doors and the crowd enjoys culture, music, food and drinks. There are usually live bands, poetry readings and other fun activities…some in specific buildings and others on the streets and street corners. First Friday is a great monthly event…and it kicks off at 5pm TONIGHT!

Where I Make Stuff

I love to look at images of artist studios on Pinterest. The space is often a reflection of their creative work, it just looks like them. We moved into a new house in January and I gained the luxury of having an entire room as my studio space. In our last house, I had a teeny space in a former screen porch. When we moved I thought my new space was huge in comparison but then the movers started putting boxes in the room, and they just kept coming and coming. I didn't realize until that moment just how much art stuff I had - I think I had at least four giant boxes of collage papers alone. It's jam-packed, and it may look like a mess, but I know where everything is and it's totally me. In a few years, when my son is in school full-time, I may move into our backyard guest-house. That's my dream anyway, because right now it's kind of an uninhabitable mess and needs a lot of work. But, who am I kidding, I would probably just fill that space up with art-junk in a week! Here's some photos of my art space, and here's a link to the studio inspiration board on Pinterest I just started.

Crystal Neubauer - The Art of Expressive Collage

This past Spring, one of my favorite artists, Crystal Neubauer, taught a collage workshop here in San Antonio and I was lucky enough to be able to attend! I've followed her work for the past few years and it really speaks to me because she uses salvaged papers to create beautiful collage pieces. She was also one of the instructors at EncaustiCamp. Like I said, lucky me! Her new book The Art of Expressive Collage just came out and it's wonderful. The book details her process for making collage and has beautiful photos of her work and other collage artists. Great Job Crystal!  In the photo below, is my copy of Crystal's book along with my original Crystal Neubauer art work. I can't wait to get it framed and up on my wall!

EncaustiCamp 2015

For the past few years, I've wanted to attend EncaustiCamp and this July I finally made it happen! It was a wonderful experience to spend a week in a beautiful setting amongst other creative people. I chose the Track 2 route, which was intended to be an open studio of sorts for experienced encaustic painters, with the benefit of having instructors there if guidance was needed. I learned a lot from instructors Patricia Baldwin Seggebruch, Sue Stover, Michelle Belto, and Crystal Neubauer. I also learned from my fellow attendees as many of them were also experienced artists. I returned home with a list of new ideas I want to explore. On our "off day," I was lucky enough to visit the studios of three successful encaustic artists in the Seattle area. It was an inspiring experience to see the work and creative spaces of artists Willow Bader, Larry Calkins, and Stephanie Hargrave, they were all very generous with their time and expertise.

What is Encaustic?

I’ve gotten several questions from friends and family about what exactly is encaustic painting.

The word encaustic originates from the Greek word enkaustikos  which means to burn in. It’s been around a long time. It was used in the Fayum mummy portraits from Egypt around 100-300 AD. You might also be familiar with Jasper Johns’ flag paintings.

The process involves using heated beeswax usually combined with damar resin (but not always) to which pigments are added.  The melted wax mixture is then applied to a surface.  A heat gun, blow torch, or metal tools can be used to shape the paint before it cools and to manipulate the wax once it has cooled onto the surface. Applying heat allows you to extend the amount of time you have to work with the material. You can build up many, many layers. It can be smooth or heavily textured. It can be carved into or sculpted and you can embed stuff in it. It’s an incredibly versatile medium which is why I love it!

Jasper Johns, Flag above White with Collage, 1955. Encaustic and collage on canvas.

Jasper Johns, Flag above White with Collage, 1955. Encaustic and collage on canvas.

Fayum Mummy Portrait

Fayum Mummy Portrait

Welcome

I started this blog to share my process and journey as an artist. It's a space to share the things that inspire me and catch my eye. Just like my art, I’m sure this blog will evolve over time. Thanks for coming along for the ride!

I have some good news to share with you right off the bat, two of my pieces can currently be seen at the Southwest School of Art’s annual juried All School Exhibition. I’m honored that both of my entries were chosen.

The exhibition has been on view since July 18th and will be up until August 30th. It’s at the Russell Hill Rogers Galleries and it’s free and open to the public.

Update: Both pieces sold. Hooray!